
THE LARGEST BMW 2-SERIES FORUM ON THE PLANET

| 05-22-2016, 11:02 PM | #1 |
|
Captain
 
308
Rep 645
Posts |
M Performance side skirt blades **DIY**
I thought since there were some questions regarding the M-Performance blades I would do a little DIY. This is my first DIY so please use this to your advantage and not to your disadvantage
 I would allow at least 3-3.5 hrs for this install. It took me closer to 4 hours with a break and being meticulous as usual (which most of us are) Parts are as follows per BMW installation manual http://www.2addicts.com/forums/attac...1&d=1411568438 Intall is pointed here from parts list being similar to the F30 http://f30.bimmerpost.com/forums/att...2&d=1358459388 Here are the tools and supplies I used  1- Step Bit to 3/16" 2- sharpie 3- ramps if possible or jacks/jackstands 4- 4mm drill bit (not necessarily needed) 5- soap bucket w/water & Dawn with rag to clean side skirt before final prep. 6- Right angle drill or dremel or right angle attachment 7- spare 2x4's or cardboard to prop under blade. 8- hammer 9- masking tape 10- 90+% isopropyl alcohol (NOT NECESSARILY NEEDED) I started by pulling one side of the car up on my ramps and raised the side approx 6-10". I cleaned the side skirt with Dawn and water to get any dirt/wax and contaminants off the painted surface.  I then propped the blade under the side skirt paying attention to placement under and front to back of the car. The blade should be placed pretty flat against the underside of the skirt and should sit very close to the raised edge where the skirt terminates under the car as seen in this pic. try to maintain an even straight gap from that raised edge and mark the first hole or two with a sharpie   Start off by drilling carefully into your marks. I used a pilot and then used the step bit by hand until i opened up a 3/16" hole. keep in mind that there is metal body that the skirt mounts to so be aware of your drilling depth as to not damage the metal. after you have successfully drilled out a few holes dry mount the blade using the plastic anchors that are given in the bag. mark another two or three, drill and dry mount again. work from one end of the car to the other to maintain a continuous and seamless placement of the blade. take your time here. repeat this until you are finished.  After all holes are drilled, wipe the area to be bonded against the 3M tape with the packet labeled VHB. I also had 91% isopropyl alcohol which i believe this is. Now use packet labeled Automotive adhesion promoter 4298 and wipe area to be bonded. be careful and use a rubber glove for this seems to be a pretty harsh chemical. this should soften the area for bonding. now prepare the blade be pulling a small piece of the backing and folding it over the blade so it can be reached after mounting.    Take the blade and mount it to the side skirt. use your bridging to support the piece while you set in the plastic anchors. do not permanently set them again just dry fit.    Now peel back small sections of the backing at a time. start by applying pressure to the blade to help adhesion. tap in the completion pins into the anchors as you go working from one end of the car to the other.  Once you have gone the length of the car place masking tape using an upward force to maintain pressure on the blades. Leave sit for 30mins.  Now you should have a more beautiful car than when you started. IMO for $210 this is money and time well spent.    Last edited by Drpoomanchu; 05-22-2016 at 11:35 PM.. Reason: corrections |
| 05-22-2016, 11:38 PM | #3 | |
|
Captain
308
Rep 645
Posts |
Quote:
 |
|
|
Appreciate
0
|
| 05-23-2016, 01:37 AM | #4 |
|
Private First Class

37
Rep 178
Posts |
Love detailed write ups like this! Thanks for sharing.
__________________
-roger
Current: '15 F22 EB 228i | M Sport | 6MT | Dinan | Rotiform | 35% tint | CF side mirrors Gone: '11 B8 A4 | '08 Infiniti G37 Coupe 6MT | '04 E46 M3 6MT |
|
Appreciate
0
|
| 05-23-2016, 04:29 AM | #5 |
|
Major
 
460
Rep 1,151
Posts
Drives: F90 M5 Comp (Evolve Tune)
Join Date: Apr 2010
Location: Buckinghamshire, England
|
thanks for sharing. Im trying to decide if i get these. Can you tell me do they come already in the matt black finish same as rest of the M P kit. Handy as my car is white like yours. Also are you finding they just collect all the road Dirt?
|
|
Appreciate
0
|
| 05-23-2016, 05:47 AM | #6 | |
|
Captain
308
Rep 645
Posts |
Quote:
|
|
|
Appreciate
0
|
| 05-23-2016, 06:26 AM | #7 | |
|
Major
460
Rep 1,151
Posts
Drives: F90 M5 Comp (Evolve Tune)
Join Date: Apr 2010
Location: Buckinghamshire, England
|
Quote:
|
|
|
Appreciate
1
//M235ixD97.50 |
| 05-23-2016, 07:03 AM | #8 |
|
Private First Class
60
Rep 127
Posts |
Great job OP ! Thanks for diy contribution.
On the other hand, I have never seen interest in those blades though, seems absent to say the least. |
|
Appreciate
0
|
| 05-23-2016, 01:04 PM | #12 | |
|
Captain
308
Rep 645
Posts |
Quote:
[/[URL=http://s218.photobucket.com/user/drpoomanchu/media/car%20pics/64560E16-6A23-4EF7-8EBE-C357CAD3EB07.jpg.html] 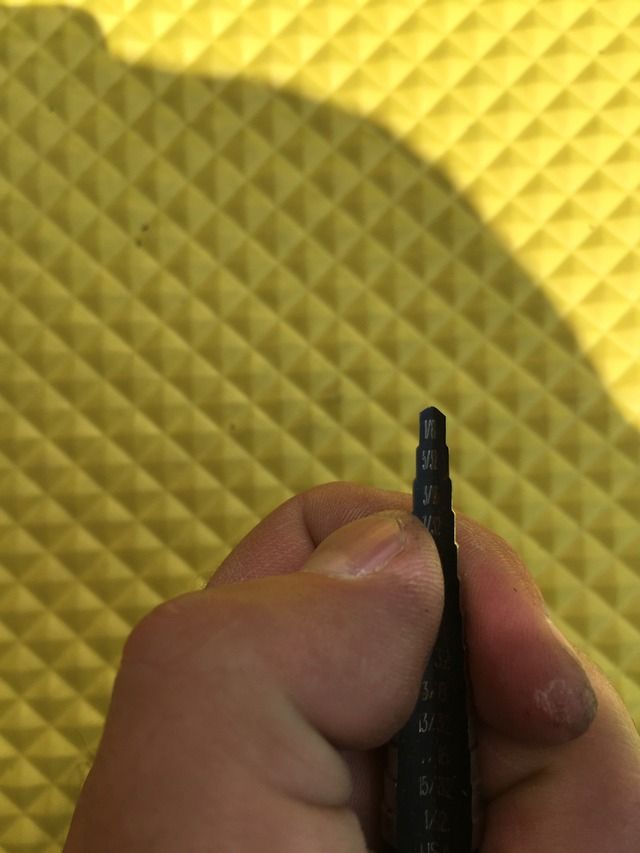 [/ [/ |
|
|
Appreciate
0
|
| 05-25-2016, 05:11 PM | #13 |
|
Lieutenant
270
Rep 554
Posts |
Great DIY! Thanks for the effort.
__________________
The Stable
2015 BMW M235i | 2014 Porsche Carrera S | 2017 Porsche Macan GTS | 1996 Porsche Carrera 4S |
|
Appreciate
0
|
| 06-03-2016, 03:15 PM | #15 |
|
Major
460
Rep 1,151
Posts
Drives: F90 M5 Comp (Evolve Tune)
Join Date: Apr 2010
Location: Buckinghamshire, England
|
got mine other day, it was evening time so was running out of light, but fitted one side, took me 45 to 50 mins so not a long job fairly simple if your careful. went on perfect and looks great with the side decal, plus the lip will protect the panel from flying stones. I didnt bother taping up the blade after the 3M bonds so dam hard and strong it was moving anywhere. Next mod...19 inch rims.
One thing to note. make sure you put on correct side lol...as in the blade should flare out towards back of car, and thinner at front. |
|
Appreciate
0
|
| 06-04-2016, 11:43 AM | #22 |
|
Lieutenant
270
Rep 554
Posts |
Great pics! Thanks.
Question: I have the side stickers as well. Does the side blade attach over the sticker? I was wondering if the adhesive from the blade is touching the sticker or the cars paint.
__________________
The Stable
2015 BMW M235i | 2014 Porsche Carrera S | 2017 Porsche Macan GTS | 1996 Porsche Carrera 4S |
|
Appreciate
0
|
Post Reply |
| Bookmarks |
|
|


