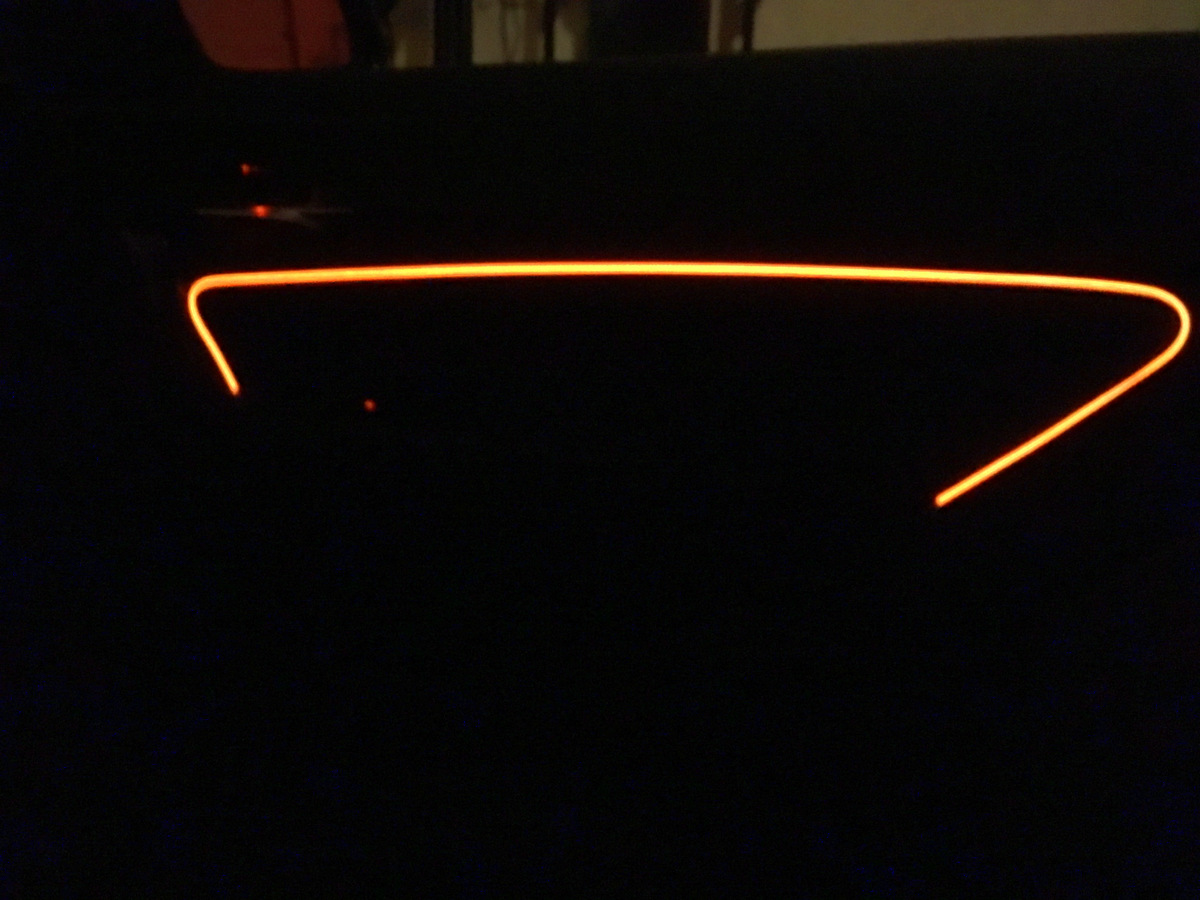
A couple weeks ago I had a loaner, a 530. I had never seen the Ambient lighting before and thought how cool ! So $8.49 to China and about 4hr experimenting.

1
2

3
This is what I used. 2M 12V Car Vehicle Ambient Interior Orange Cold Light Strip Atmosphere Neon Lamp 4683812938981 | eBay
2M 12V Car Vehicle Ambient Interior Orange Cold Light Strip Atmosphere N...
<li> Description<br />-100%25 brand new and high quality <br />-Support to DIY the length, the cut part can be d...
I cut off the lighter plug and taped into the power from the inside light just above the door handle. This is dimmable with the rest of the interior lighting.

4.1
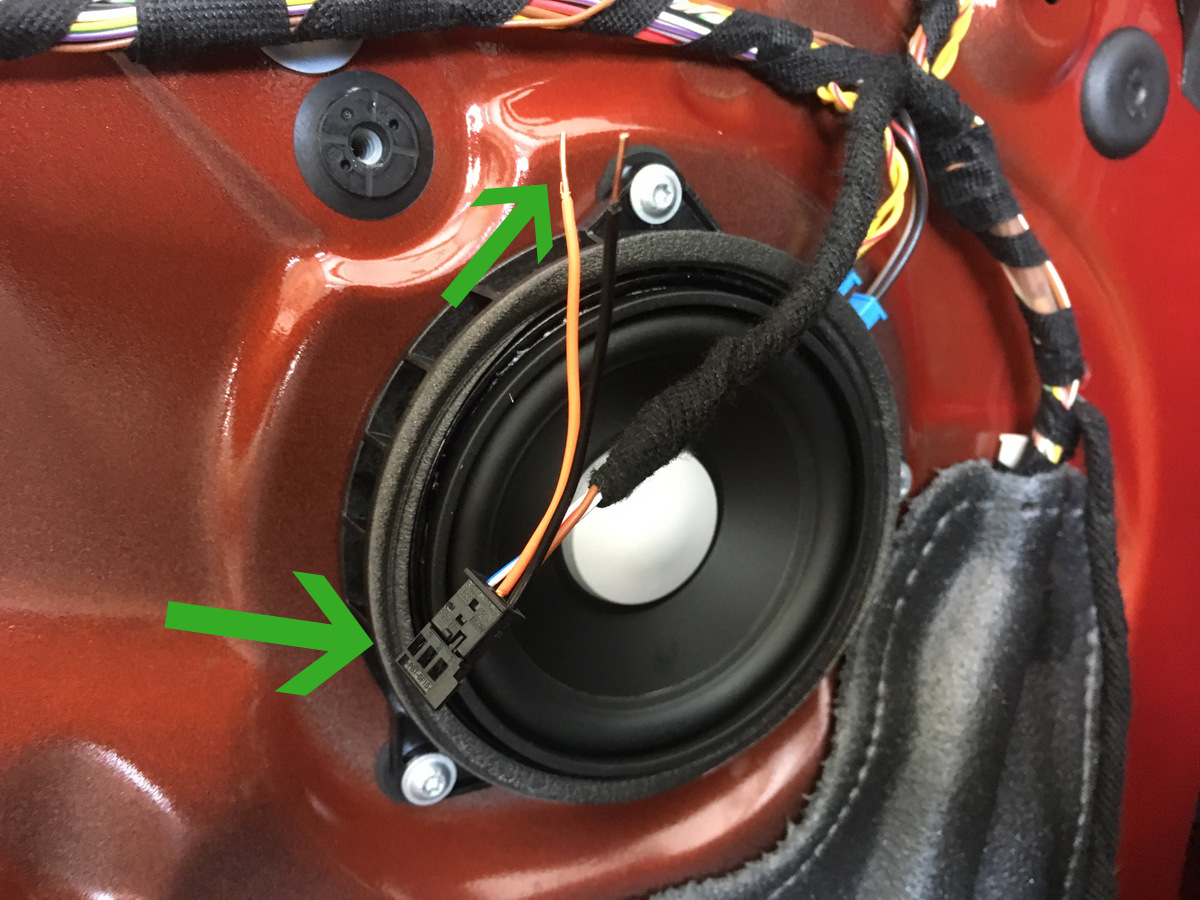
I used this video from Bavsound on how to remove the door panel.
Bavsound Stage One - BMW F22/F23 2 Series/M2 2014+ - Speaker Upgrade Installation Video
Bavsound Stage One - BMW F22/F23 2 Series/M2 2014+ - Speaker Upgrade Ins...
http://www.bavsound.com/ Improve your BMW audio sound quality simply and effectively with these Plug & Play Bavs...
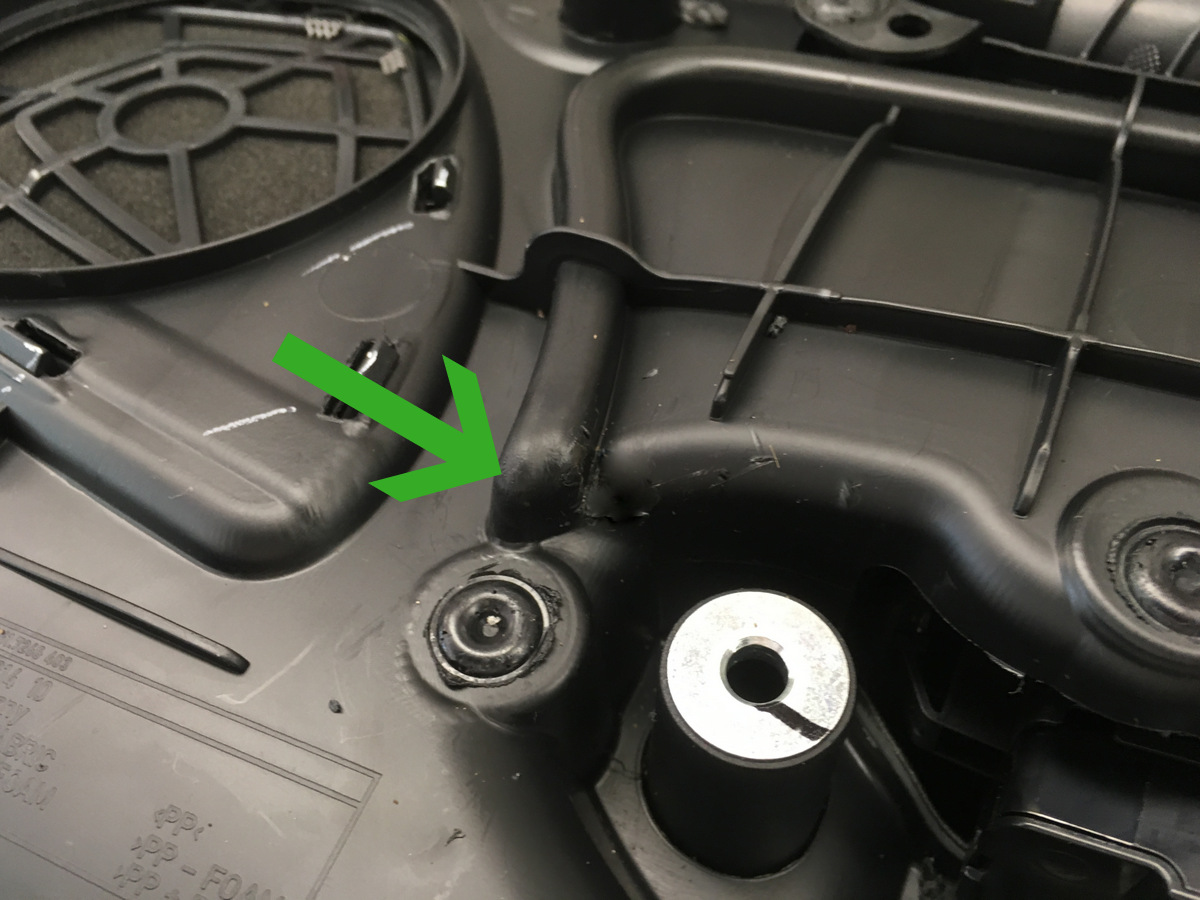
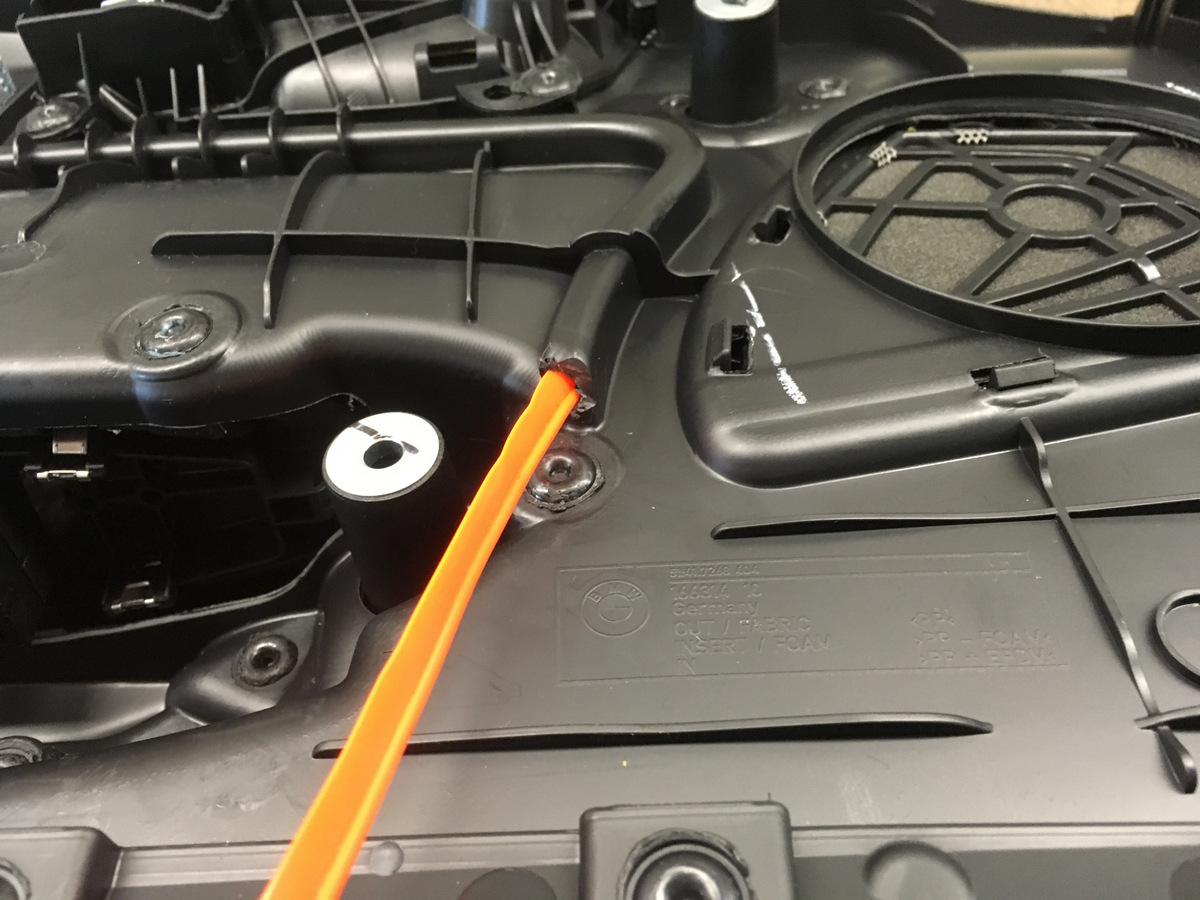
This is where the Light strip will come out from the inside.

5.1
This is the place where you cut to feed the strip. I just used a sharp knife and carefully cut the end out of this, about the size of a pee.
4
I used a stiff wire to probe around until I found the seam. This is in the padding of the arm rest. I held my finger on the other side to tell where I was before I pushed it through. I them made the hole big enough for the light strip to go through
5
You need to feed this through with no twists. I feed it the way it has to lay in the seam.
6.1
This is where it comes out. I then pulled most of the strip through, made sure I had just enough, cut off the extra, tapered it and tucked it in at the other end of the arm rest.

6

7
Here you can see where it comes from the front to the back and how I zip tied everything down.

8.1
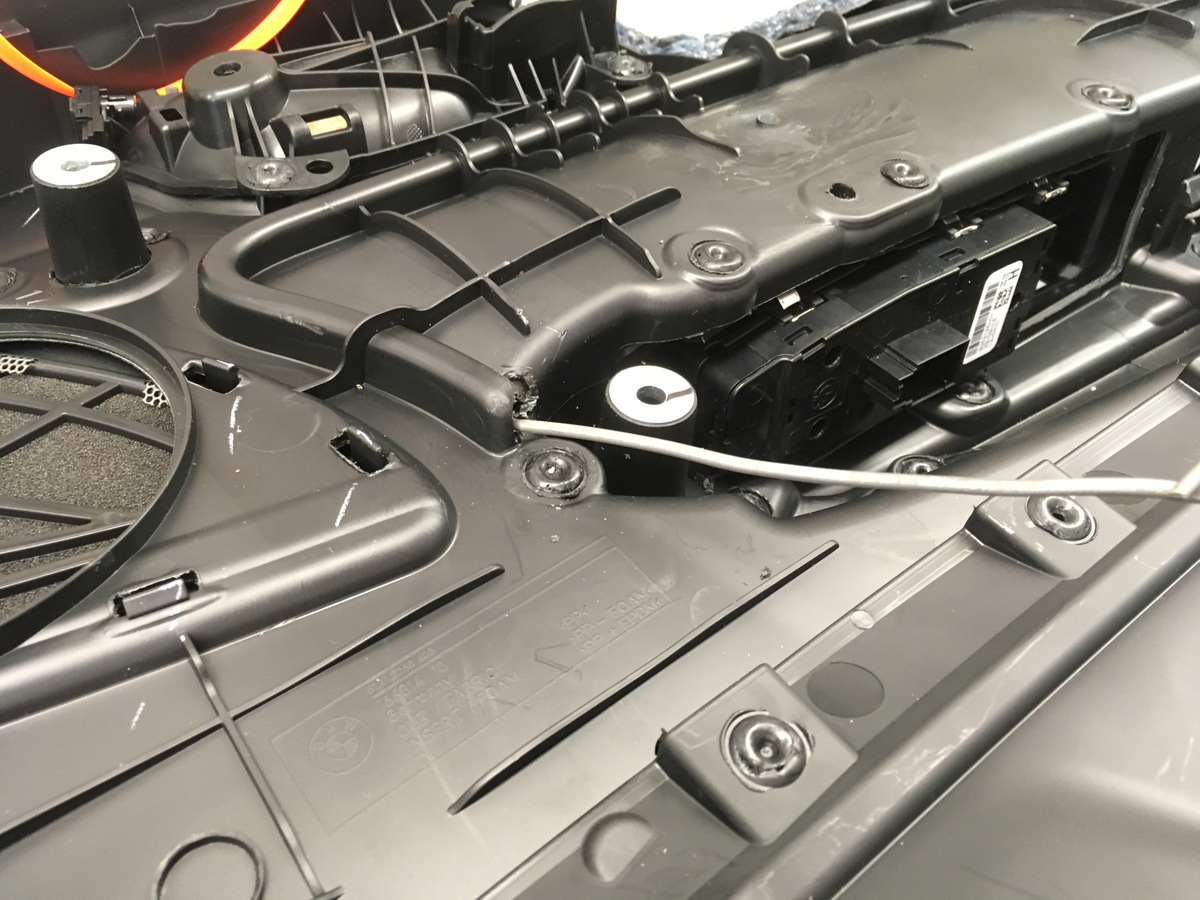
This is where I got the power. Its for the light above the inside door handle. I use a single strand wire and shoved them in the back of the plug. The Brown wire is ground and the white with the red strip is hot. Left and right doors.
I didn't want to cut or tap into the factory wires that's why I did it this way. This gave me the most trouble, this is the shortest of all the wires on the door panel and you pull around on it to get it plugged back in. I zip tied the crap out of my connection to keep them from pulling out of the plug. I also put a quick connect plug in line so you can just unplug this along this everything else when removing the panel. I'd recommend testing your power as your putting the panel back on so you don't snap everything back in place (three times) to find your connection came loose.
9
Another thing I learned, if the trim for the door handle doesn't snap completely back in place you might have to loosen one of the screws behind it so it lines up properly.
Don't know anything else I can add just take your time.