I'll be swapping out the interior mirror with the larger, frameless version that we have on our X7. I will update this thread with install pics and results.
I believe there are many mirrors that will work. The mounting bracket differs between various part numbers, but the mirror and four wires appear to be largely the same. Almost all mirror upgrades will require removing and reusing the ball mount from the M235/M240, so it doesn't really matter which model mirror you get as long as the mirror has the features you need.
I received two mirrors that I bought on eBay. Both have the modern glass shape, homelink buttons, high beam assist, and self-dimming. But some of these mirrors are even more frameless and thinner than others.
P/n 51169476754 has no bezel at all, and is completely frameless. The mirror is also thinner, and has an angular rear housing. This came off of a M850 and is the same mirror as used in the X7:

p/n 51169459440 has a thin black bezel around the edge, though the glass appears to be the same shape and size. The mirror is thicker overall, and has a smooth rounded rear housing. This came off a 530i, and according to the eBay listing, this part number is used on the X5 and M5 as well:

Comparison of the top and bottom of the 754 mirror (left) to the 440 mirror (right):


Comparison of the 754 mirror to the stock mirror:
Update June 2023 - I finally installed the mirror. I closely followed the tutorial by
BMW DIY Guy I highly recommend watching his video and I give credit for the success of this swap to him.
After pulling the mirror from your car, note the pin locations in the 2 series mirror plug, and the color wires for each pin:


The upgraded mirror has the same four wire colors, but in a different shaped plug:

Use a pick tool to pop out the clips on both plugs, and then pop out the pins from both plugs:


Then comes the hard part, removing the ball joint from each mirror. Follow the YouTube video's instructions for this. Lay a towel on a flat hard surface, and put a second towel over the mirror mount. I braced the mirror against the table with one hand and pressed the mount to one side while twisting it, to pop it out. It's a very nerve racking process because you feel more certain every second that the mirror will break.
The two mounts have different shapes and sizes, so you must swap them.

Now the hardest part: attaching the 2 series ball joint to the new mirror. Again lay the mirror face down on a towel on a hard surface. Thread the wire harness and pins through the hole in the mount. I applied a little bit of grease to the ball joint, but I don't think the grease really did anything. It will take a LOT of force to get the ball in. I'm almost 200 lbs, and I leaned into the mount as hard as I could. The ball went in with a loud BANG, and somehow, the mirror did not break.
After the mount is in, position the wires and pins like this, to line up with their positions in the 2series plug:

Use the pictures I posted above to make sure the pins are inserted in the same positions as the old mirror wires.
After this, slide the mirror back into the windshield bracket and reattach the harness plug:

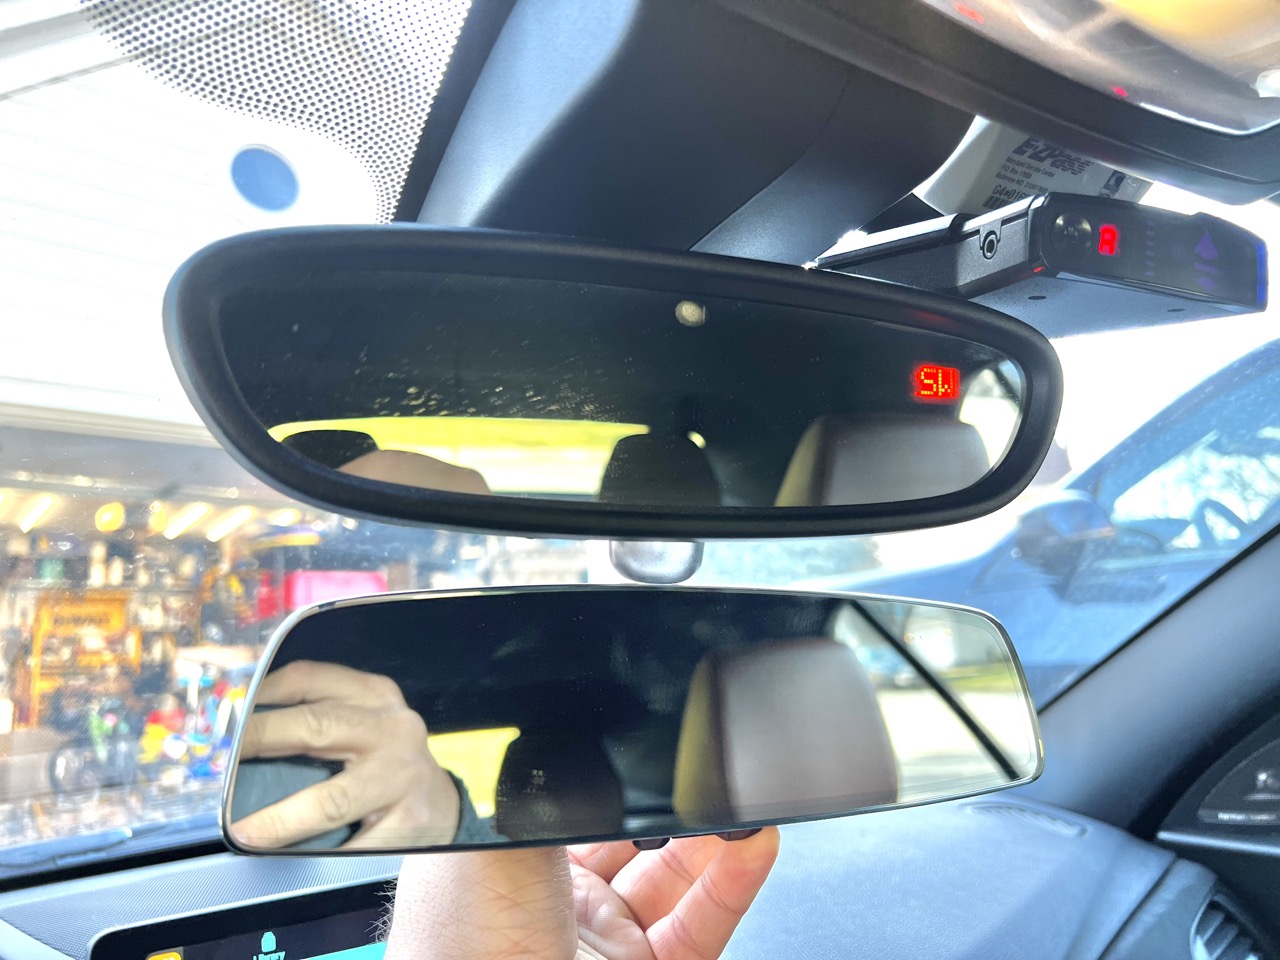
Pop the cover halves back on, and you're done. Finished result:

The new mirror looks much sleeker and seems to have more visibility at each side.