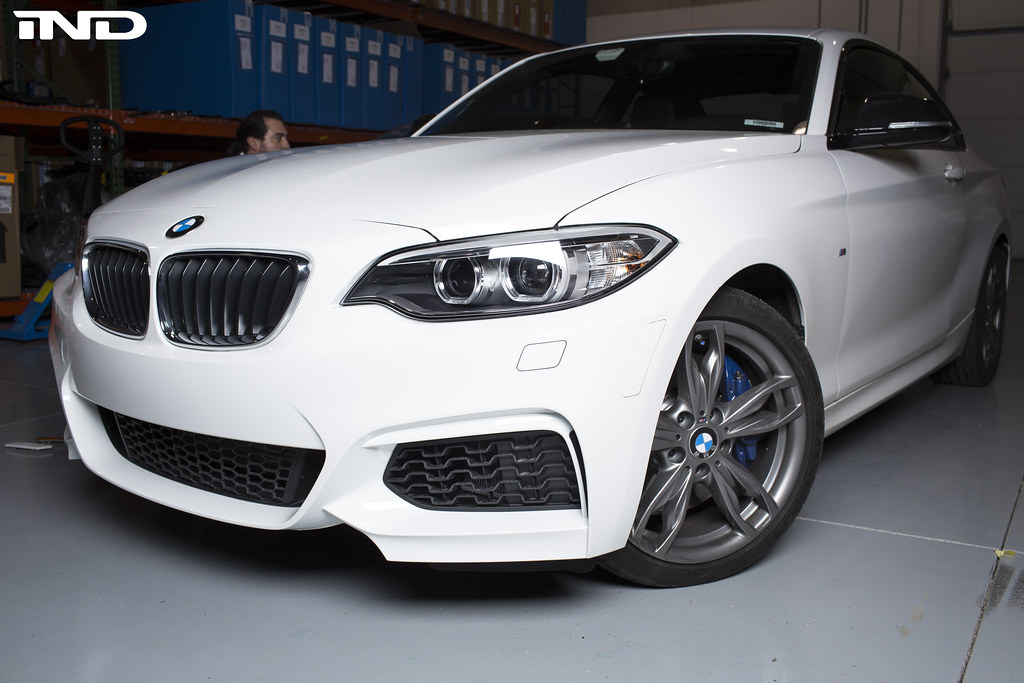
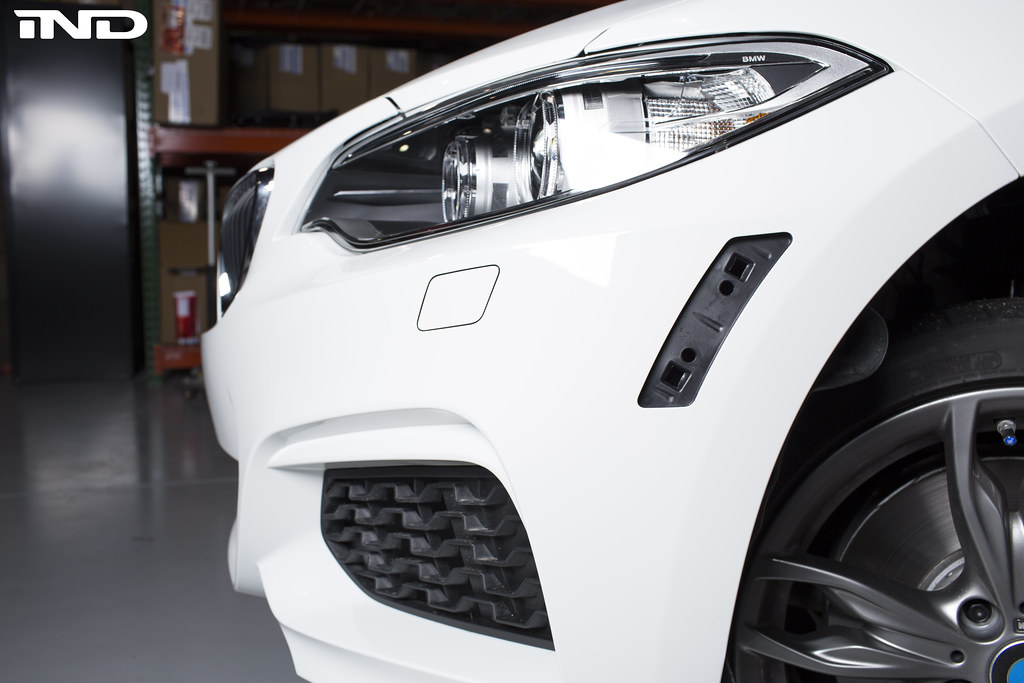
Painted reflectors are among the first additions made by any owner of a modern BMW. The unsightly orange reflectors installed in cars bound for North America instantly break the smooth lines of BMW bumpers.
IND provides painted reflectors as a cost effective solution. We use OE BMW reflectors for a factory fit, and the same paint process we would use to repaint an entire car. Each reflector is sanded, prepped for paint, primed, then painted.
Many enthusiasts enjoy installing their own painted reflectors, so weve created this installation DIY to help.
Tools needed:
8mm socket and ratchet
Step 1:
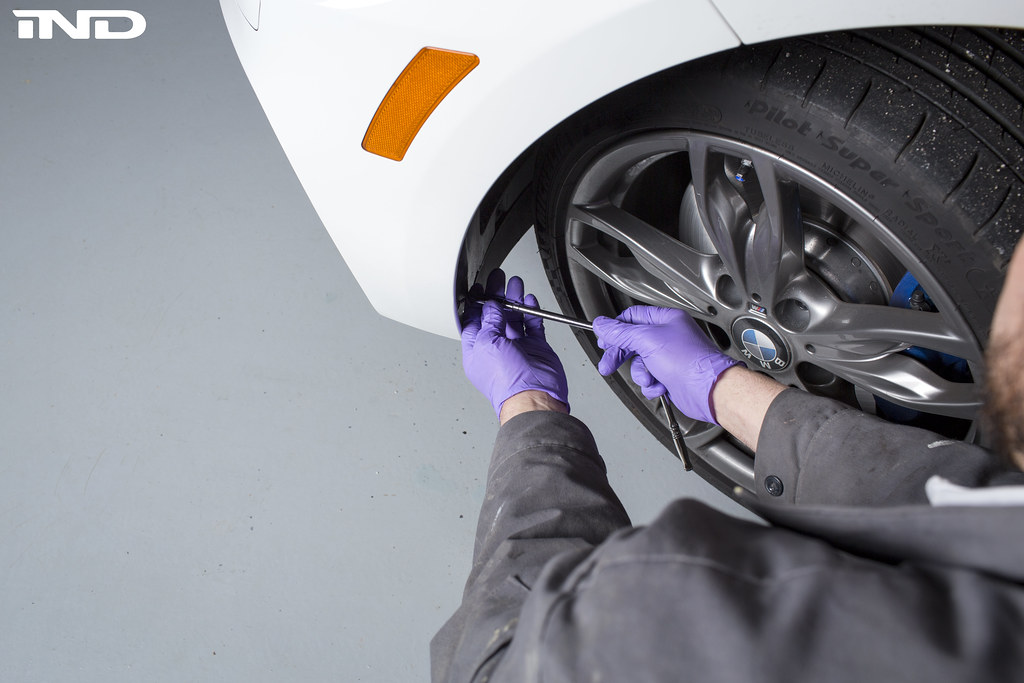
The first step is to gain access to the fender liner. This can be achieved by turning the wheel full lock toward the inside of the side you are working on. As a result of this action you have a clear view of the fender liner as well as the fasteners
Step 2:
Now that the fender liner is visible take the socket and remove 3-4 of the fasters so that you can safely access the reflector.
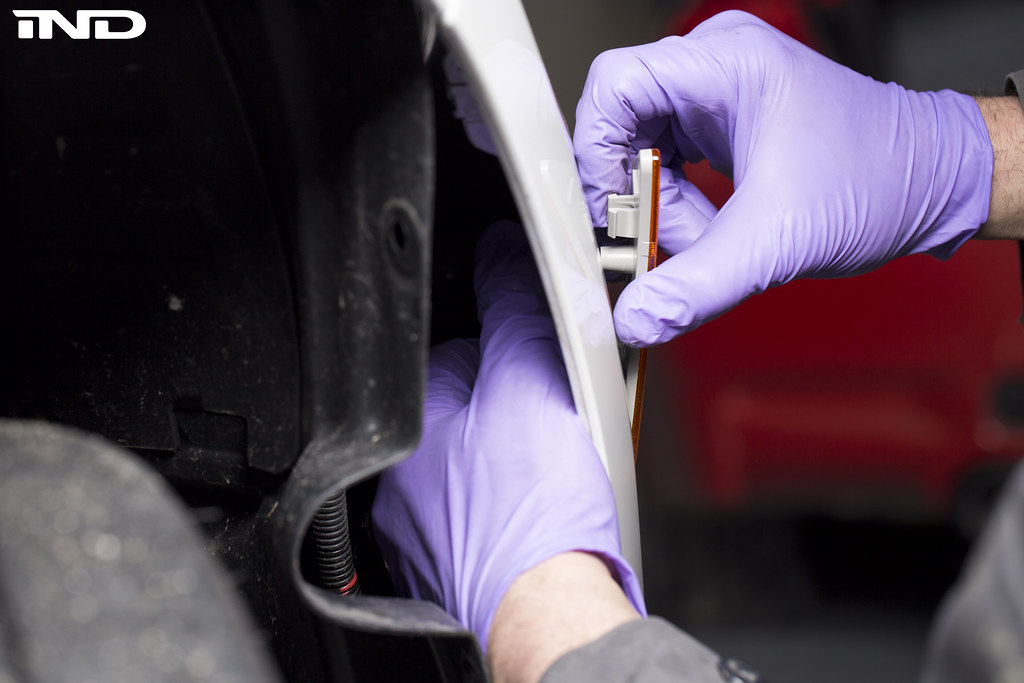
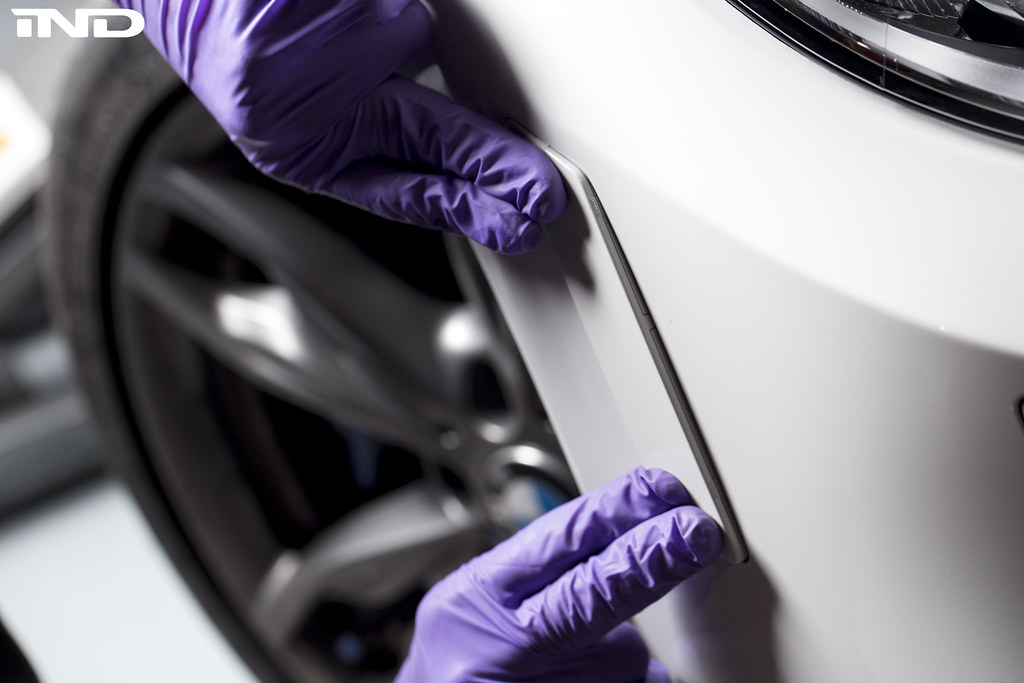
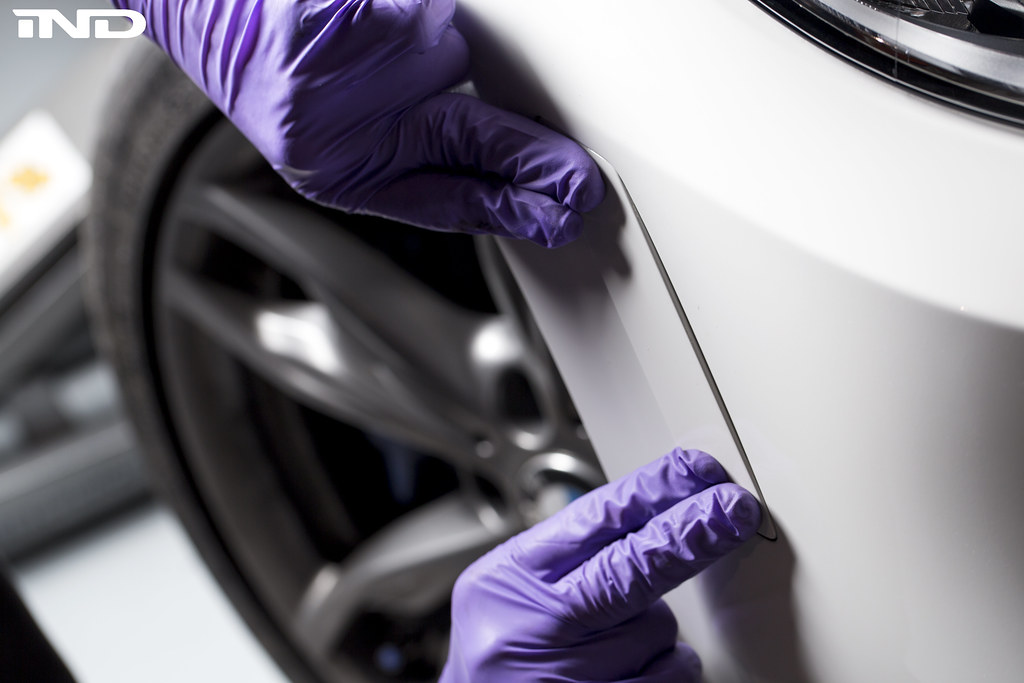
 Step 3:
The F22 reflectors are
not secured with double-sided tape, but rather snapped into place. There are two tabs on the backside of the reflector and the safest way to remove the factory piece is to depress the tab inward and simultaneously push the reflector. Once you have one end loosened you can repeat with the other tab.

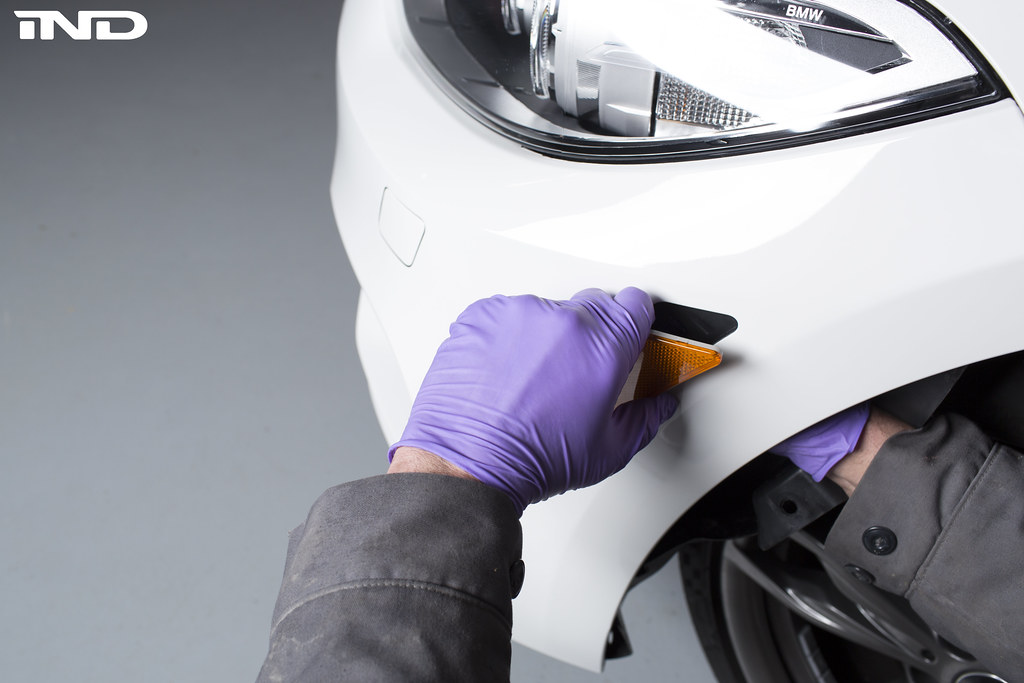 Step 4:
Installation is as simple as push the reflectors into place. This is performed from the outside of the bumper
 Step 5:
Now that your reflectors are installed it is time to button everything up. Simply replace the fasteners on the fender liner and repeat with the other side.